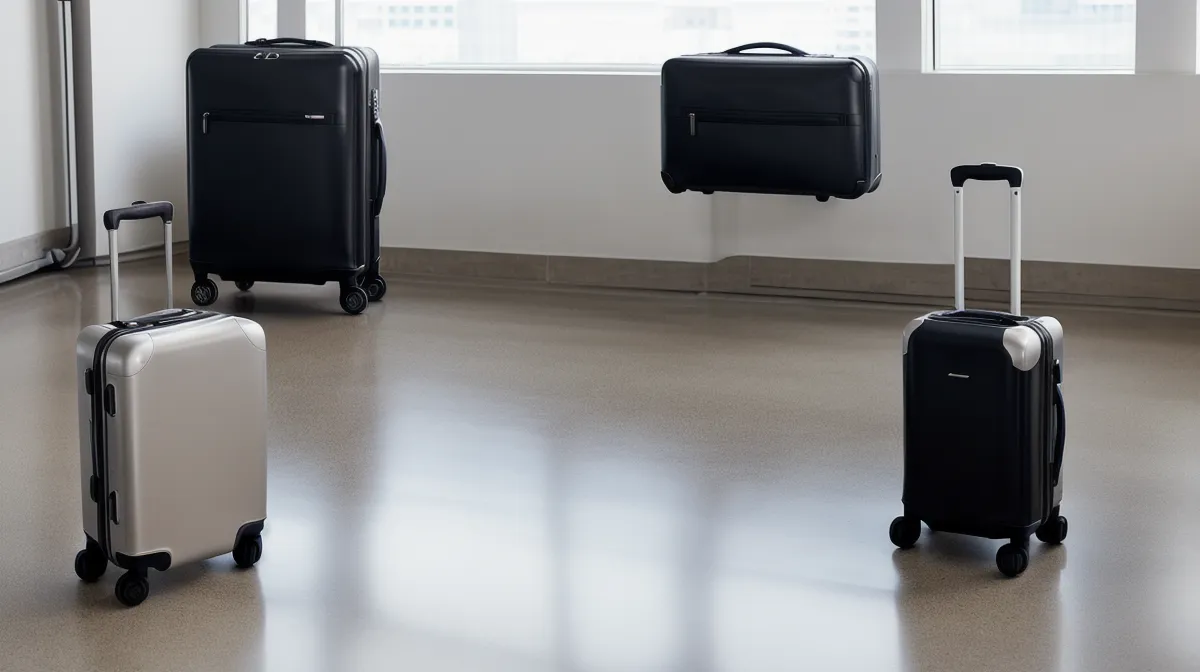
Forty minutes. That's roughly what it takes to cut a dead wheel off a carry-on and bolt on one that will outlast the bag around it, which is less time than most regional jets spend parked at the gate before boarding even starts. Every frequent flyer hits the same fork in the road eventually: one caster catches a curb wrong, picks up a flat spot, and turns a perfectly good bag into something that fights you across every hotel lobby floor between the elevator and the front desk. The shell's fine. The zippers are fine. Only the wheel gave out, which makes the usual response, buying a whole new carry-on, about as sensible as replacing a car over a flat tire. The real question isn't whether to fix it. It's which of two completely different repair paths actually makes sense for your bag, your timeline, and the damage you're actually looking at, and that's a luggage repair decision most carry-on maintenance guides skip right over.
Two Ways to Handle Luggage Repair After the Wheels Die
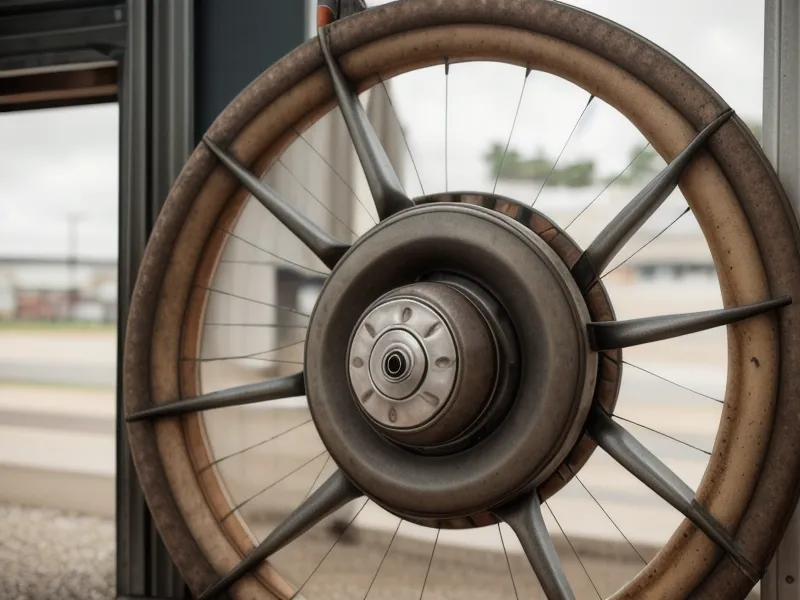
Most bags that get tossed early didn't suffer one dramatic failure. A caster usually dies the slow way — it catches a stray curb or a stretch of torn carpet, picks up a flat spot, and grinds a little louder every trip until it finally locks solid. By the time you notice, you're not looking at one broken part, you're looking at the tail end of a whole chain of small failures that started months earlier. My neighbor Denny Abara, a former logistics consultant who works from home these days, thinks about suitcases the way he used to think about supply chains — as a system where one worn component quietly loads stress onto everything around it. He's not wrong. A wheel that grinds instead of rolling makes you push harder, which stresses the fork, which stresses the mount, and so on down the line.
Once a wheel is actually dead, you've got two realistic options. Option one is contacting the brand and sending the whole bag back to a central repair depot. For most mainstream luggage lines, that means boxing up an otherwise functional suitcase, shipping it off, and waiting roughly six weeks for a fix that typically runs close to half of what the bag cost new. Reasonable if the bag is still under a warranty worth using, or if the frame itself took real damage and you're not confident doing structural work. Rough if all you need is a working carry-on for a trip in two weeks and the only thing actually broken is a wheel.
Rivets, Not Screws: Getting the Dead Wheel Off
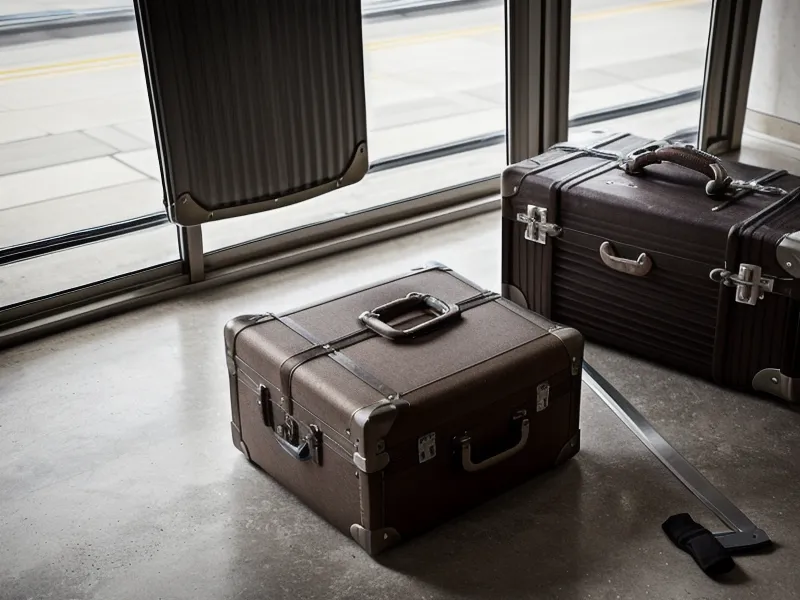
Option two is doing it yourself, and it's a lot less intimidating than it sounds once you see what's actually inside a hardside suitcase. Unzip the interior lining and run a finger down the center seam — most carry-ons hide an inside-out zipper there with no pull tab, which is deliberate, since a dangling tab in that spot would eventually catch a shirtsleeve in the teeth. Hook it open with a straightened paperclip and you're looking at the wheel housings bolted onto what is, underneath the fabric, basically a plastic tub riveted to a light aluminum frame.
Here's the part that trips people up: that wheel isn't held in with a screw you can just back out. It's riveted — a solid steel pin punched through the housing so a factory press can assemble thousands of them an hour. You need a hacksaw, not a screwdriver, and an eight-dollar mini hacksaw blade does the job in three to five minutes of steady sawing per wheel. Clamp the housing between two blocks of wood so it can't rock, angle the blade into the gap between the hub and the fork, and saw through the pin without chewing into the plastic around it. Once the pin lets go, the axle halves punch out with a nail, and the dead wheel drops free. Most of a wheel's abuse doesn't come from rolling at all — it comes from sharp drops onto curbside concrete and the general manhandling a bag takes between the ticket counter and the belly of the plane, which is why the housing itself is usually fine even when the wheel inside it is toast.
Skate Wheels Beat Factory Wheels, and Here's the Proof

You're holding an empty housing at this point, facing the one real decision in this whole project: replace it with the same wheel, or something better? Ordering the exact OEM part feels like the safe move, but factory wheels are built cheap on purpose — hard composite cores with loose, unsealed bushings that let grit in, heat the axle, and eventually weld the whole thing solid. Buy the same part again and you've just reinstalled the flaw that killed the original.
I learned this the annoying way, not through my main carry-on but through its cheaper stablemate — the budget version of the same product line, bought on the logic that it was basically the same bag for less. The wheels on that one started grinding by month five, long before anything else on the bag showed wear, which told me the problem was never really about price tier. It was wheel quality, full stop, and no amount of paying more for the same basic wheel design fixes that.
The better swap comes from an unlikely aisle: rollerblade parts. Aftermarket kits built around soft polyurethane inline skate wheels with sealed bearings absorb vibration instead of sending it straight into your wrist every time you cross an expansion joint. Counter to what most repair guides tell you, don't match the original wheel size exactly — sizing down slightly gives the tire room to flex inside the housing without rubbing when the bag is packed heavy, which is the single biggest reason factory-fresh housings crack early.
Putting the New Wheel Back On
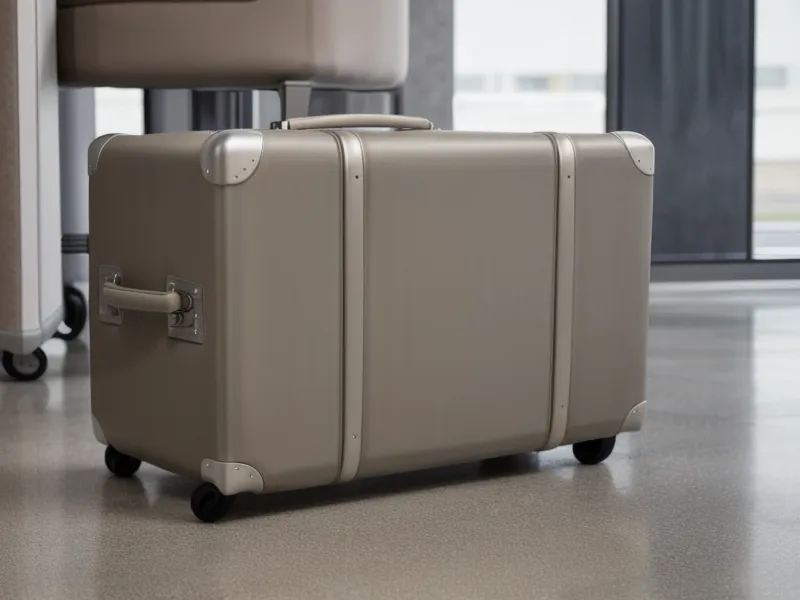
Installing the replacement is mechanical, not technical. Press sealed bearings into both sides of the new wheel hub if they didn't arrive pre-installed, slide a thin washer onto the 6mm male axle bolt (that's the standard axle diameter across nearly all modern carry-ons), and push it through the outer hole of the fork. Add a second washer, slide the wheel into place, add a third washer on the far side, and run the bolt the rest of the way through. Thread the female socket onto the end and snug it down with an Allen key on each side. Axles come in a few different lengths, so measure the outer width of your fork before ordering so the bolt doesn't poke past the plastic and snag on a conveyor belt.
Go for zero wobble, not maximum torque. Crank the fork down too hard and the arms bow inward, pinching the bearing race so the wheel stops spinning freely instead of rolling better. A dab of thread-locker on the threads is cheap insurance against the bolt backing out somewhere over the next few months of rolling vibration.
So Which Approach Actually Wins
Half a year after I rebuilt that first set, I rolled the same bag across the glass-smooth tile at Chicago Midway and the wheels were still dead silent — no shimmy, no catch, nothing you'd notice unless you were listening for it, which by then I was. That's the real test. Not how a wheel feels on day one, but whether it's still quiet long after you've stopped thinking about it.
So here's the actual breakdown. Send the bag to the brand's repair depot when the frame or fork itself is bent or cracked, when the bag is still under a warranty worth using, or when you genuinely don't want to touch tools — six weeks and roughly half the original price is a fair trade for not doing it yourself. Grab the hacksaw yourself when the shell and zippers are sound and only the wheel gave out, which, honestly, describes most wheel failures I've seen. On the sizing question, match the original wheel diameter only if you rarely pack the bag to its limit; size down to a slightly smaller aftermarket wheel if you regularly max out your carry-on's weight, since that's exactly when housing clearance starts to matter.
Not everyone wants this decision in the first place. Clifton Pryke, a reader who started emailing me after a wheel blew out on him in Phoenix, skips the whole question — he travels exclusively with a garment bag and treats curbside debris as an engineering problem to design around rather than something worth risking a spinner on. That's a legitimate answer too, just a different one than most carry-on owners end up needing.
Protecting the wheels you've got matters as much as knowing how to replace them, which I get into separately in How to Avoid Broken Luggage Wheels at Busy Airports and Curbside. And if a full teardown feels like overkill for a wheel that's merely getting noisy rather than fully dead, there are smaller interim fixes covered in How to Fix Luggage Wheels After Years of Heavy Business Travel.
There's one more category this whole guide skips: bags where the damage isn't the wheel at all. A few years back, when the frame on my workhorse bag took a real beating, I used My Experience Using the Briggs and Riley Repair Service After Years instead of reaching for a hacksaw, because no amount of DIY fixes a bent frame. For the wheel-only failures that make up the vast majority of overhead-bin casualties, though, learning to do this yourself is the one travel-gear skill that actually pays for itself every single time you use it.